 VolunteerMatters Support
Log into your organization's VolunteerMatters Administrative Site with the correct administrative privileges.
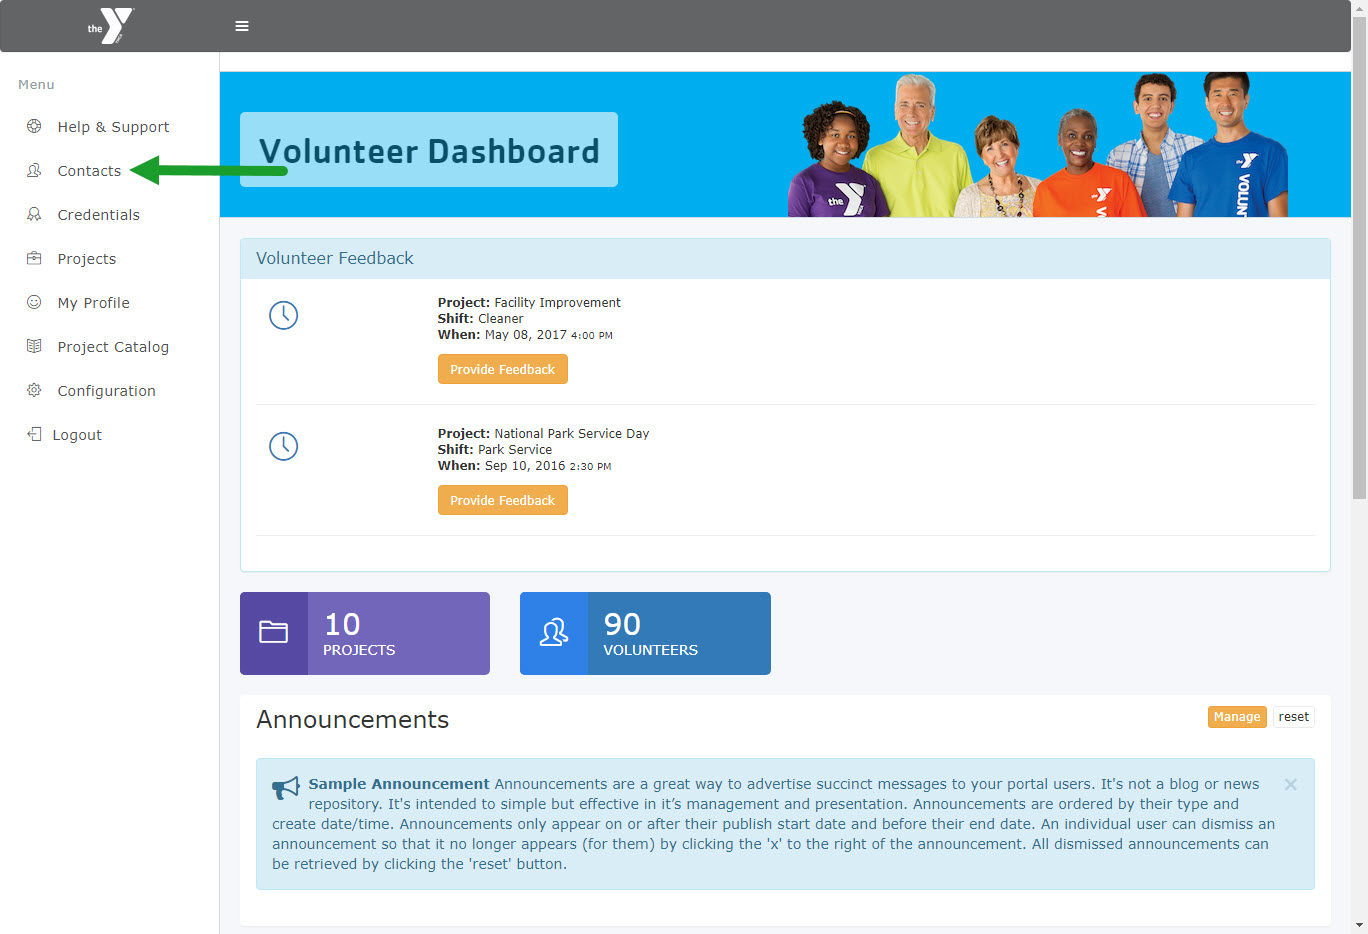
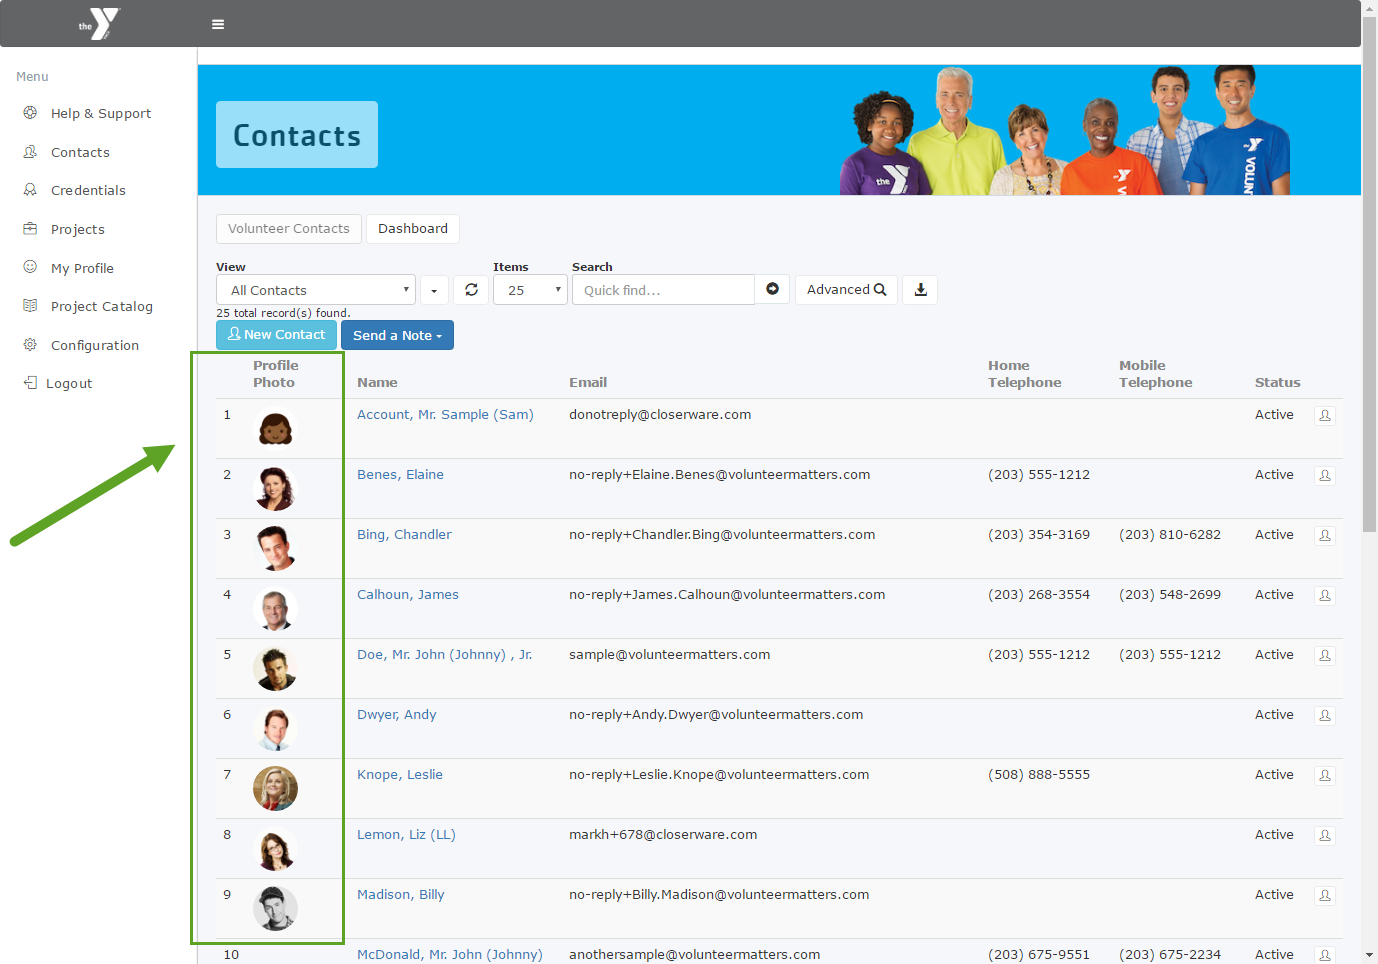
- Click on 'Contacts from the navigation menu.
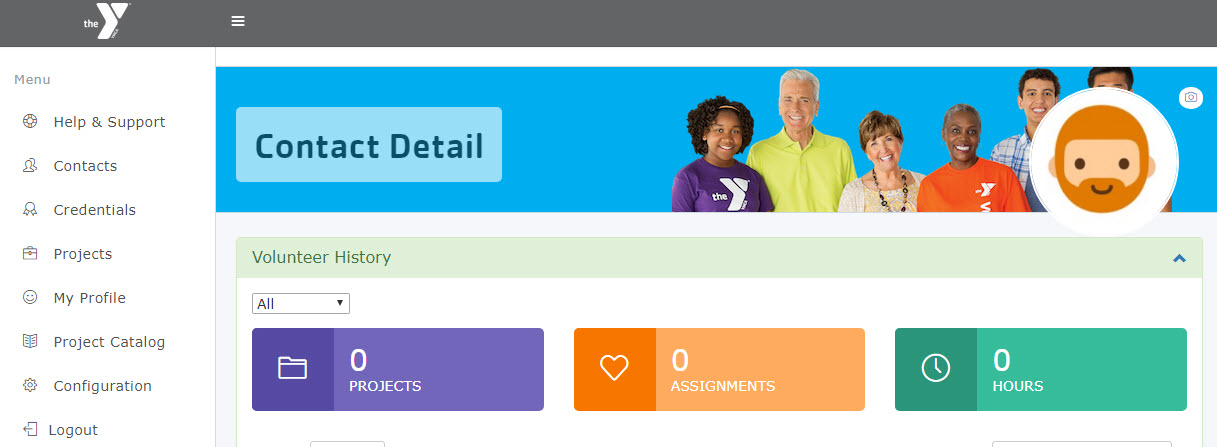
- Navigate to the contact you wish to update their photo and click on their name or 'Detail' icon (
 ). This will take you to their contact record.
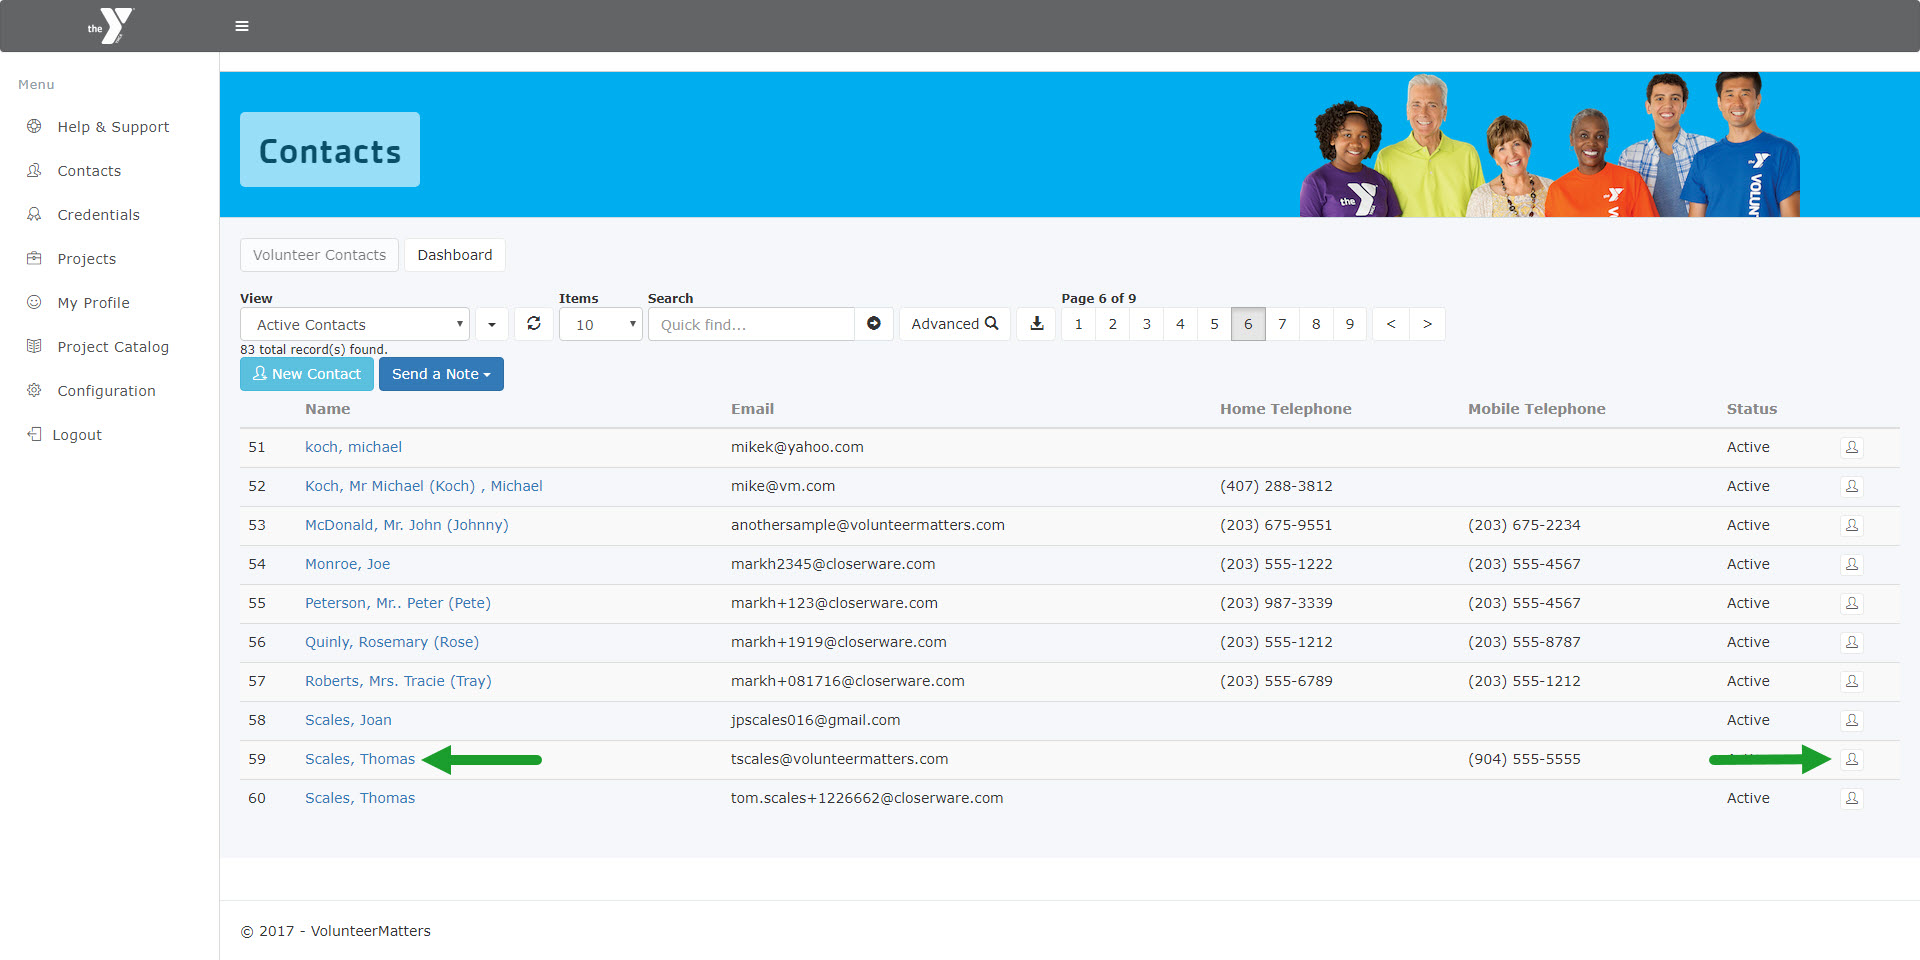
- Once on their contact record click on the camera icon (
 ) on the top right of the banner.
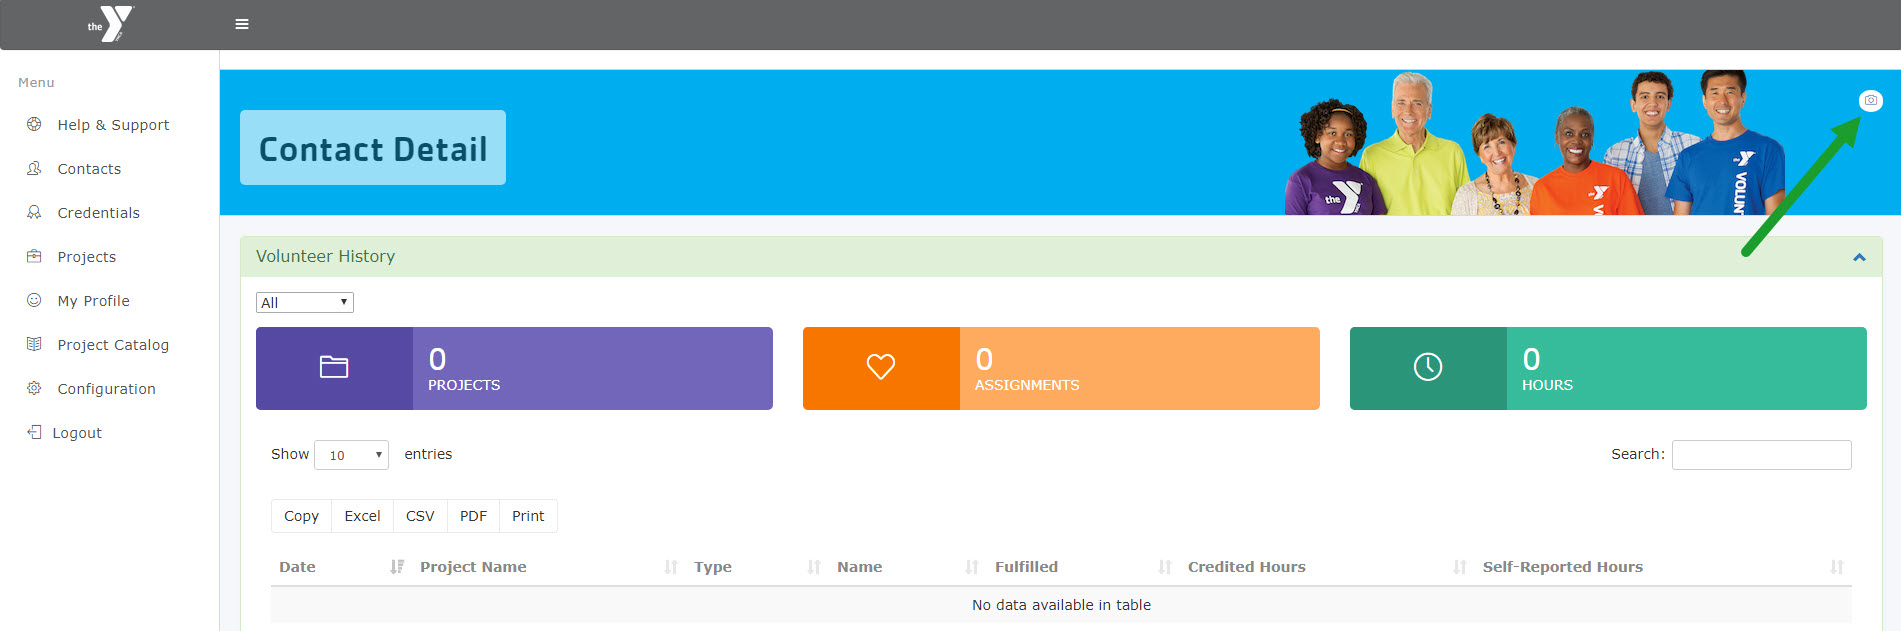
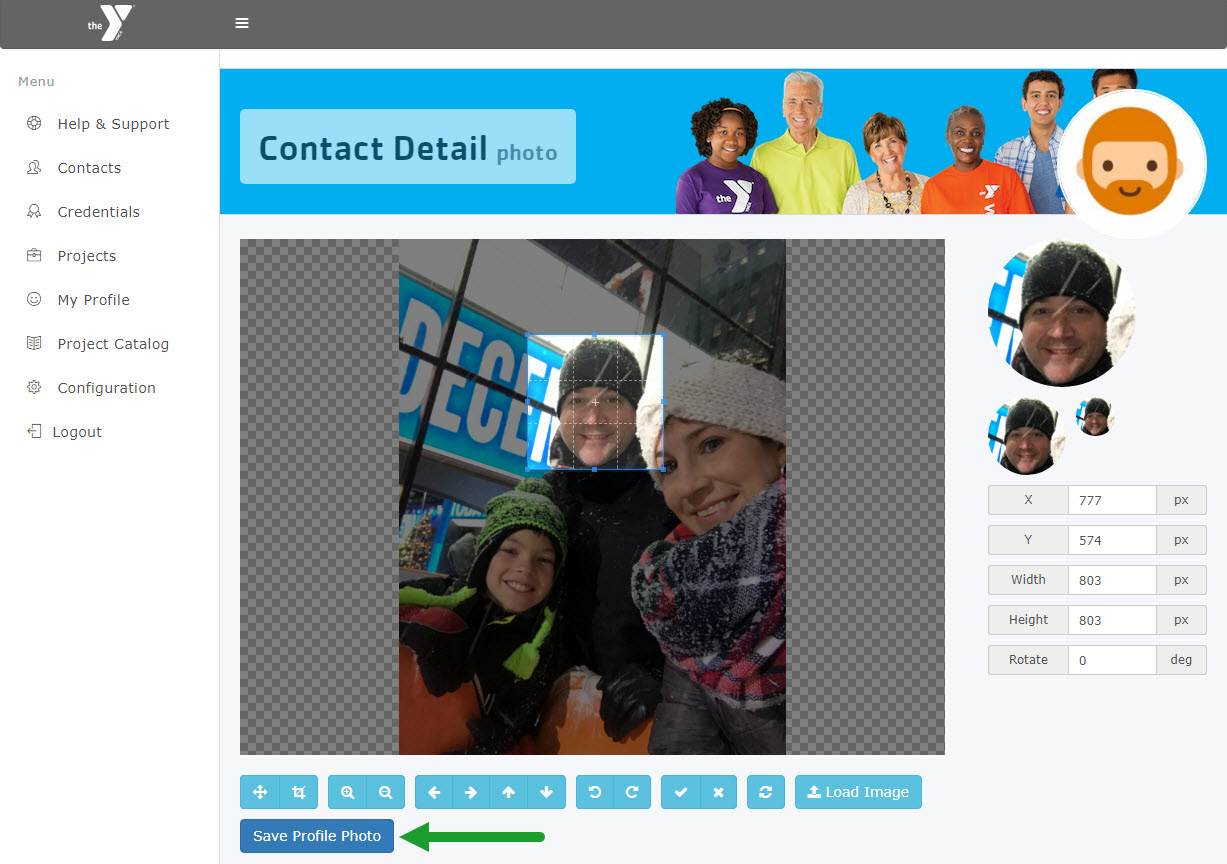
- This will open the contact detail photo page:
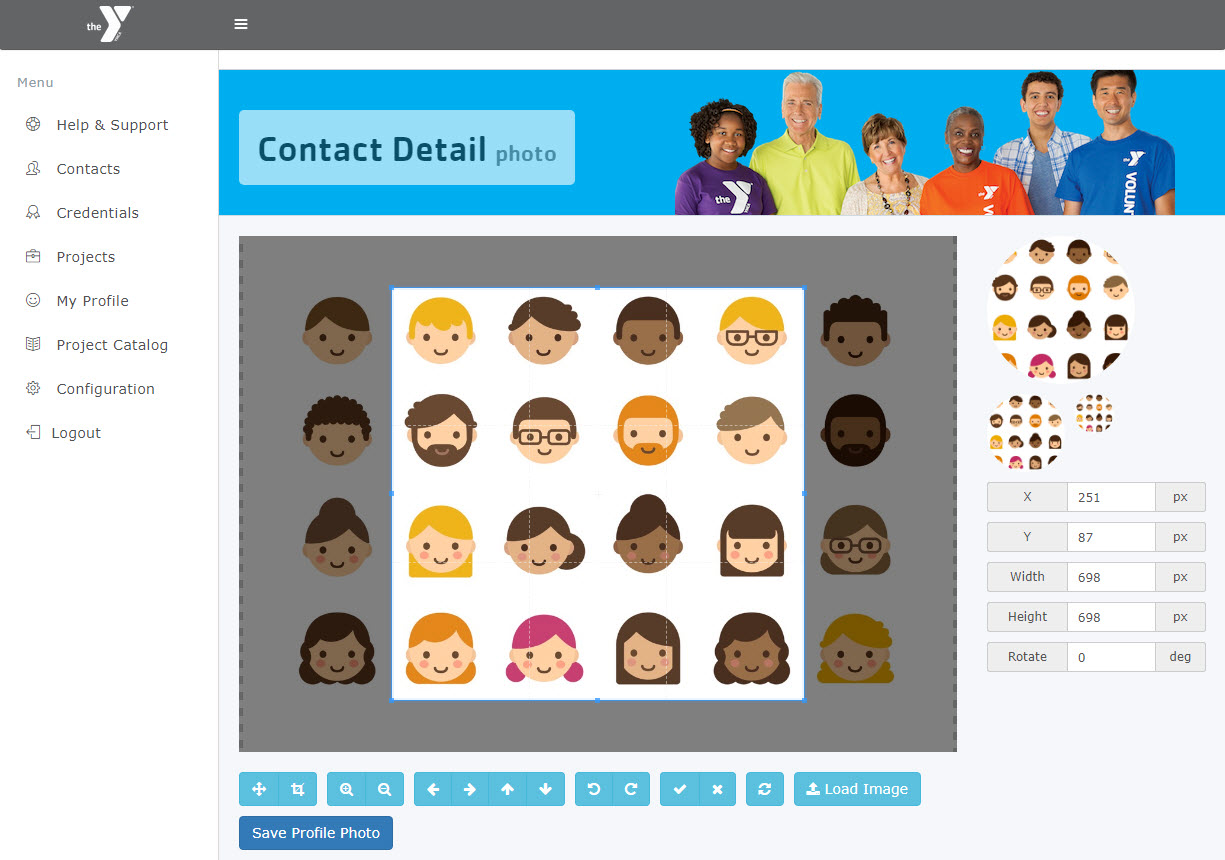
Here you can either utilize the editing tools to choose a pre-existing avatar or you can upload your own image. - If you choose an avatar you simply need to manipulate the selected box to the image desired and then click "Save Profile Photo". Note: When using the editing tools you will get a preview of your photo on the right hand side.

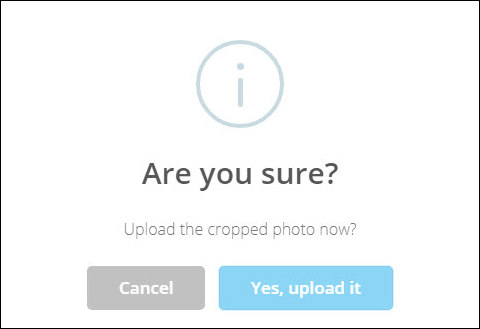
- Then you will be asked "Are you sure?", you will click "Yes, upload it", and then the upload will be confirmed.
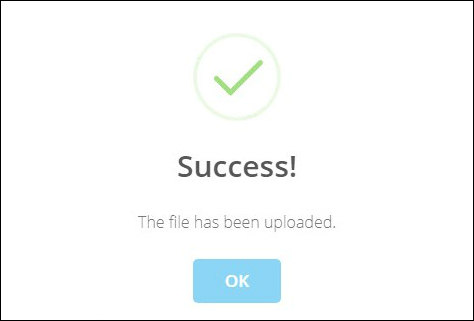
- You will then be returned to the Contact Detail page with the new photo in the banner.
- If you wish to upload a different image you will instead click on the "Load Image" button (
 ).
).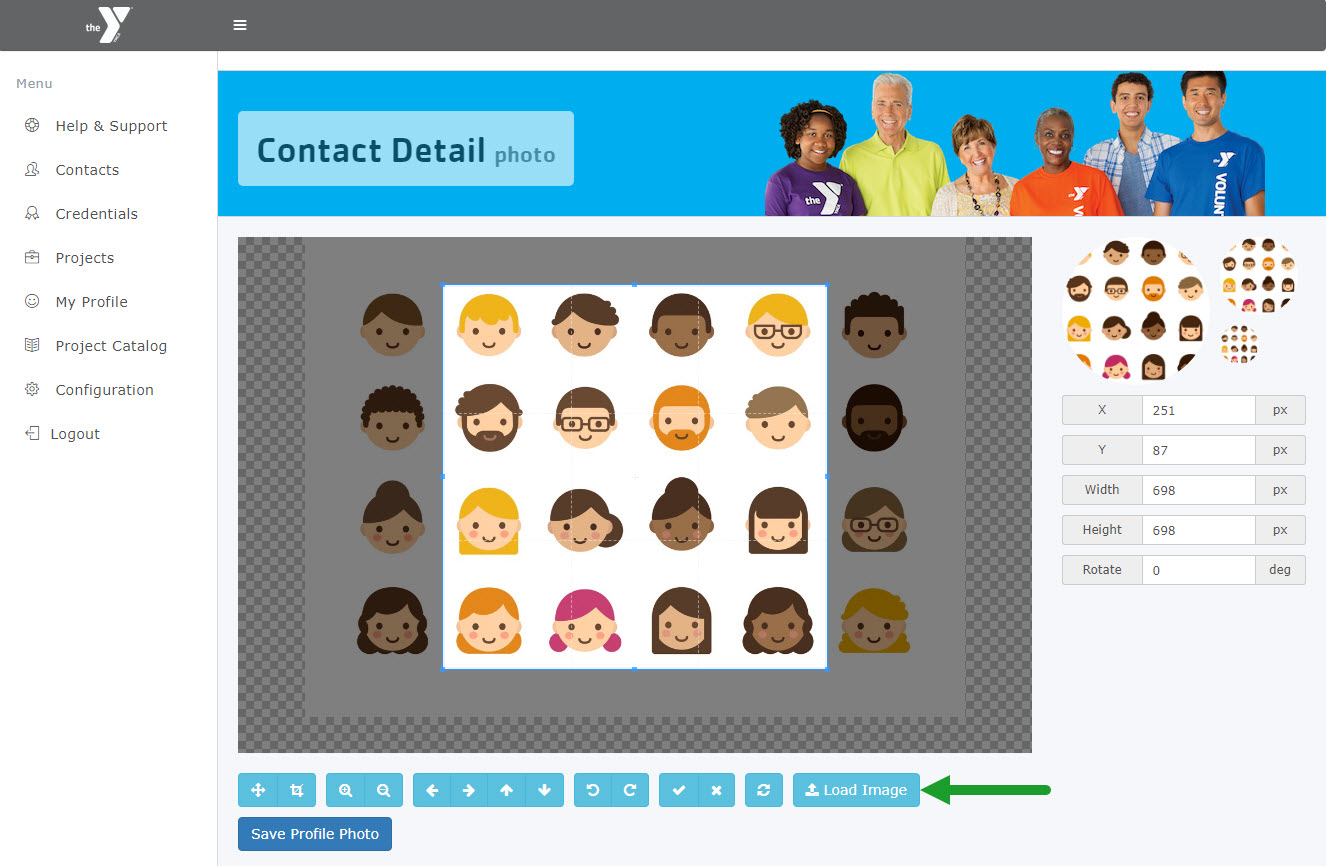
- This will open a browser window on your local machine where you can navigate and locate the file you wish to upload and click "Open" (or whatever your computer displays to select the photo).
- Once you load the image from your local machine you can use the same editing tools (resize, crop, rotate, etc.) to locate the part of the image desired and then click "Save Profile Photo". Note: When using the editing tools you will get a preview of your photo on the right hand side.
- Then you will be asked "Are you sure?", you will click "Yes, upload it", and then the upload will be confirmed.
- You will then be returned to the Contact Detail page with the new photo in the banner.

Note: If "Profile Photo" is included in either a "Contact List View" or the "Contact Chooser" it will display a thumbnail version of the image on the contact's profile (if exists).
Comments