 VolunteerMatters Support
Contact Chooser
When selecting contacts for inclusion in a volunteer project need assignment, general note, project invitation, or portal invitation, you will be prompted to "Choose” contacts.
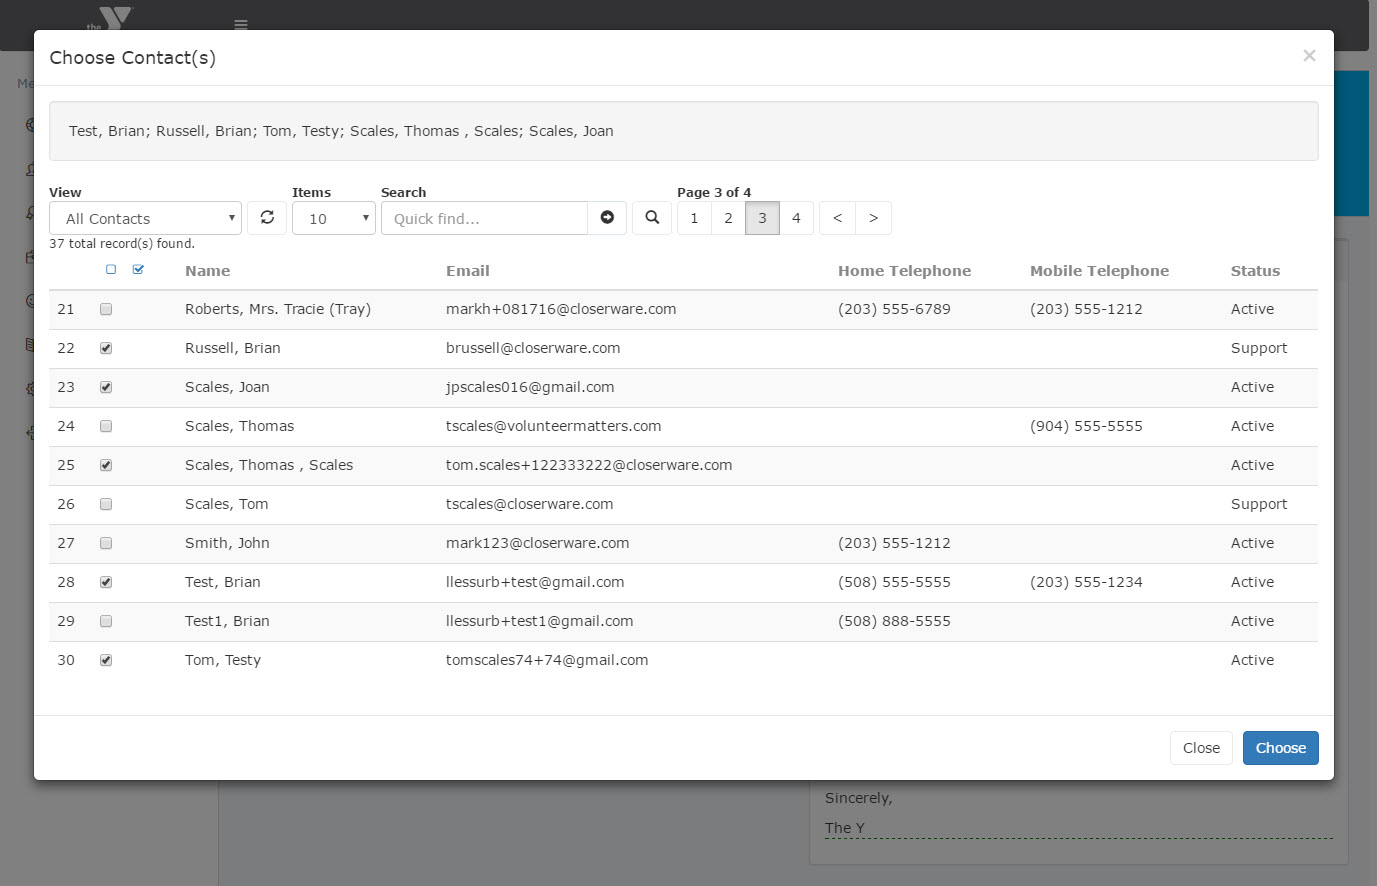
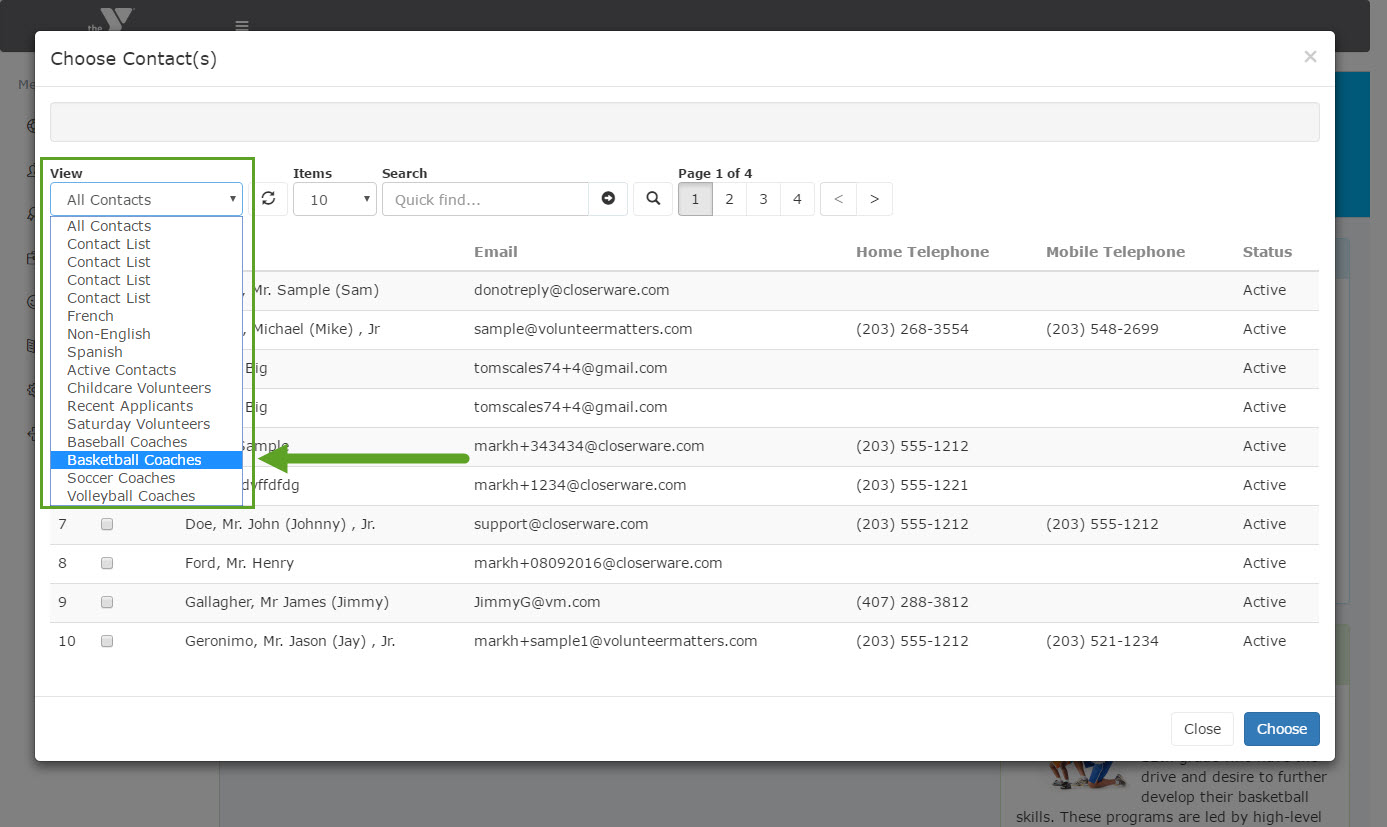
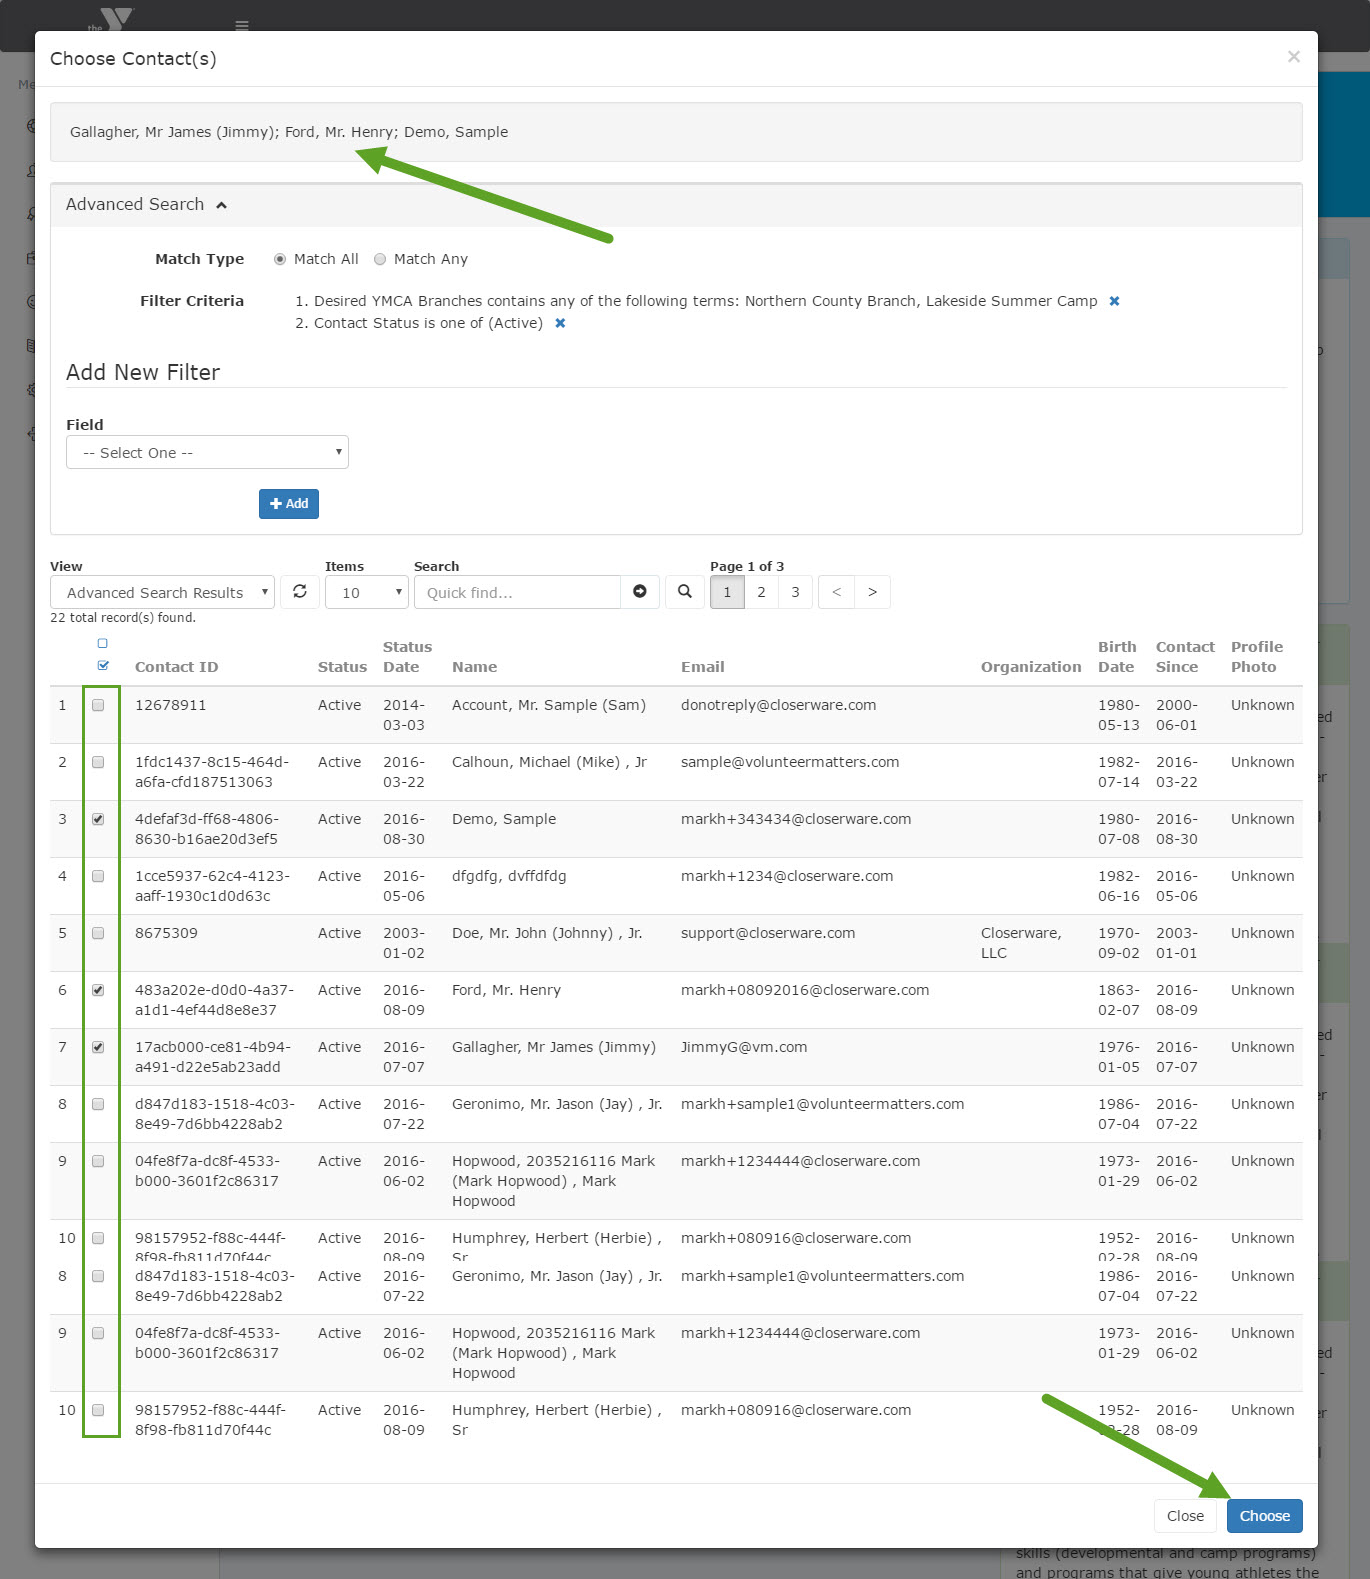
The contact chooser utility uses the same views as the contact list. However, you will notice there are check-boxes adjacent to each record. Once you have found a contact record you would like to choose, you may check the box to the left of their name. You will also notice their name is added to the box at the top of the contact chooser so as you continue to search for other contacts you can see all of the records that had been previously checked. If you check the box at the very top-left of the list of contacts, the chooser will deselect all people listed on that screen. The box just to the right of that will check all records in that list.
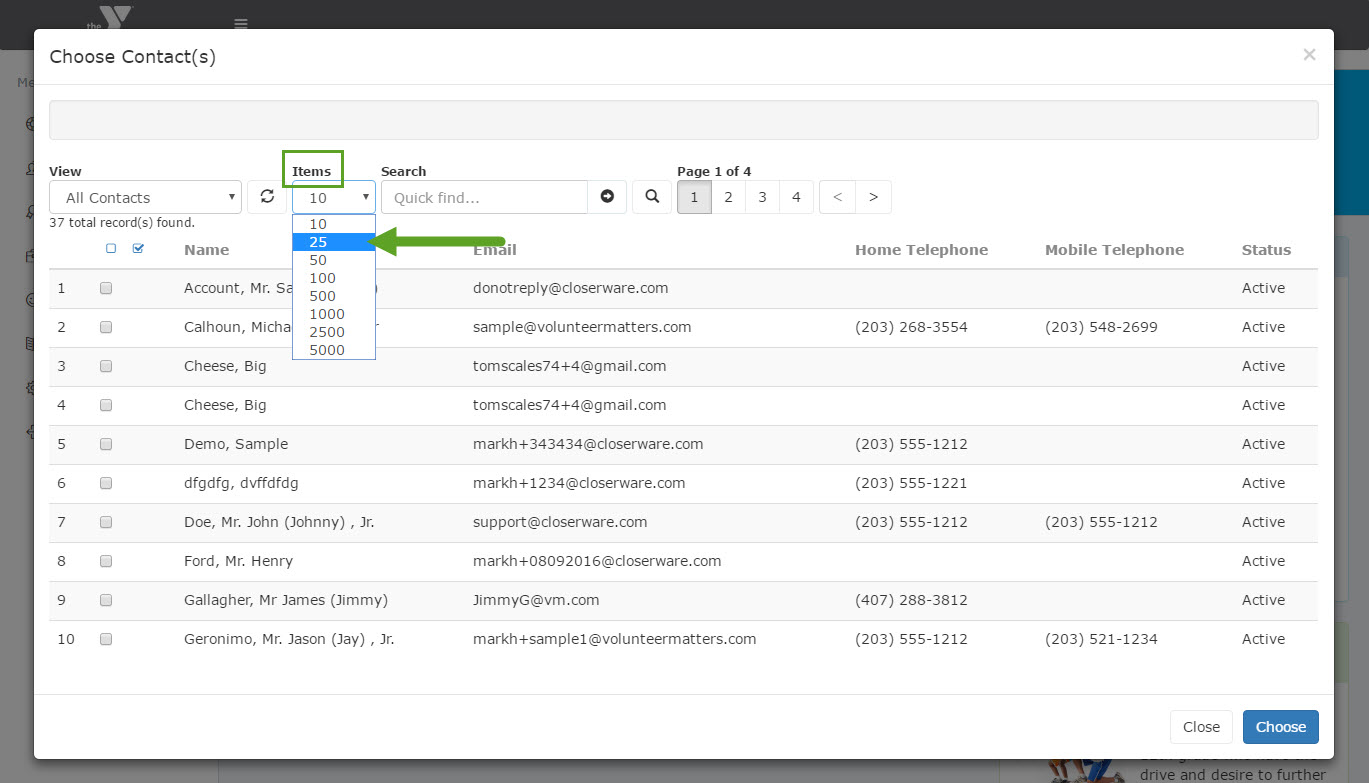
It’s important to note that if you “check all” or “clear all” it will only act on the records visible in the list, not on all of the records that may have resulted from a search. For example, if your “Items” were set to 25, it would act on the 25 records displayed. If “Item” were set to 500, it would act on the 500 records displayed. The “Items” setting is at the top-middle of the contact chooser.
After selecting all of the records you would like to choose, click the "Choose" button.
Working with the Chooser
The 'Chooser' opens up as a dialog within the current window so that it is easily accessed and it is confined to the web page on which you are working. It is fully compatible with all browser types, is not restricted by pop-up blockers, and stays with the browser page you are currently working on. The 'Chooser' is also modal, meaning the rest of the page is disabled while working within the dialog (notice how the page is greyed out behind the chooser in the image below).
Adding/deleting/editing of List Views available in the Chooser must be done via the Contact list page. For more information on working with Contact List Views click here.
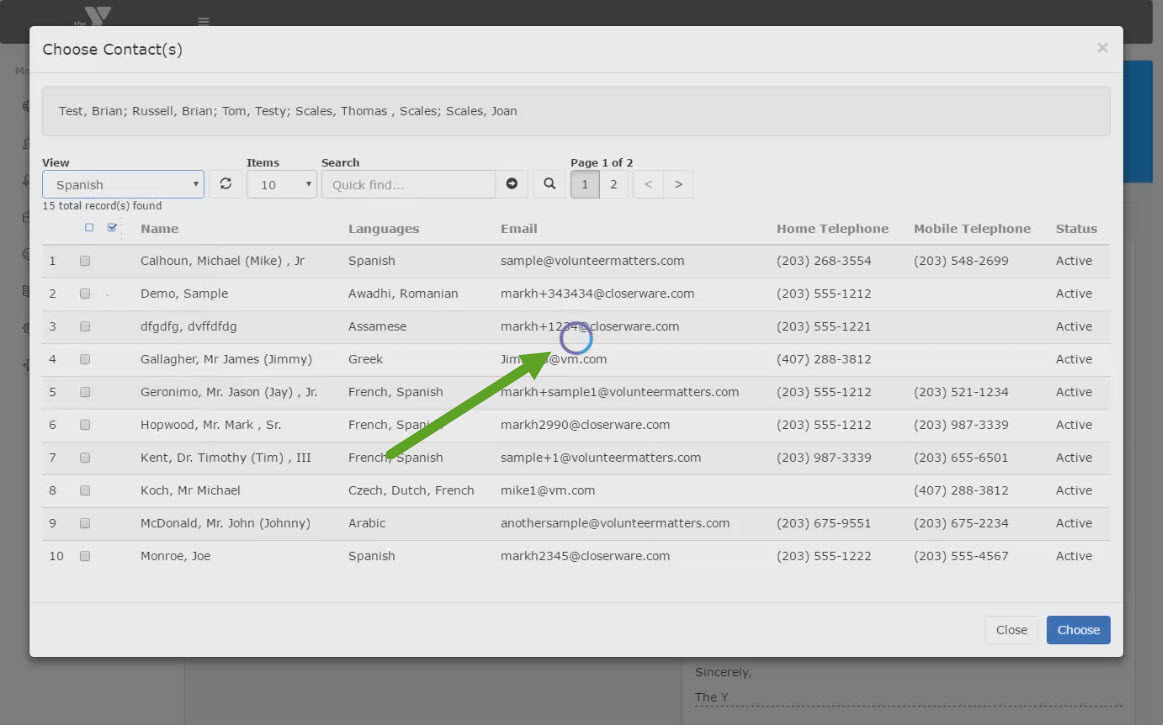
You will notice that anytime the 'Chooser' is working it will display an animated circle.
List Views are seeded from your Contacts page and display as below:
Once you change the "Items" per page selection it will automatically refresh the list to the new choice.
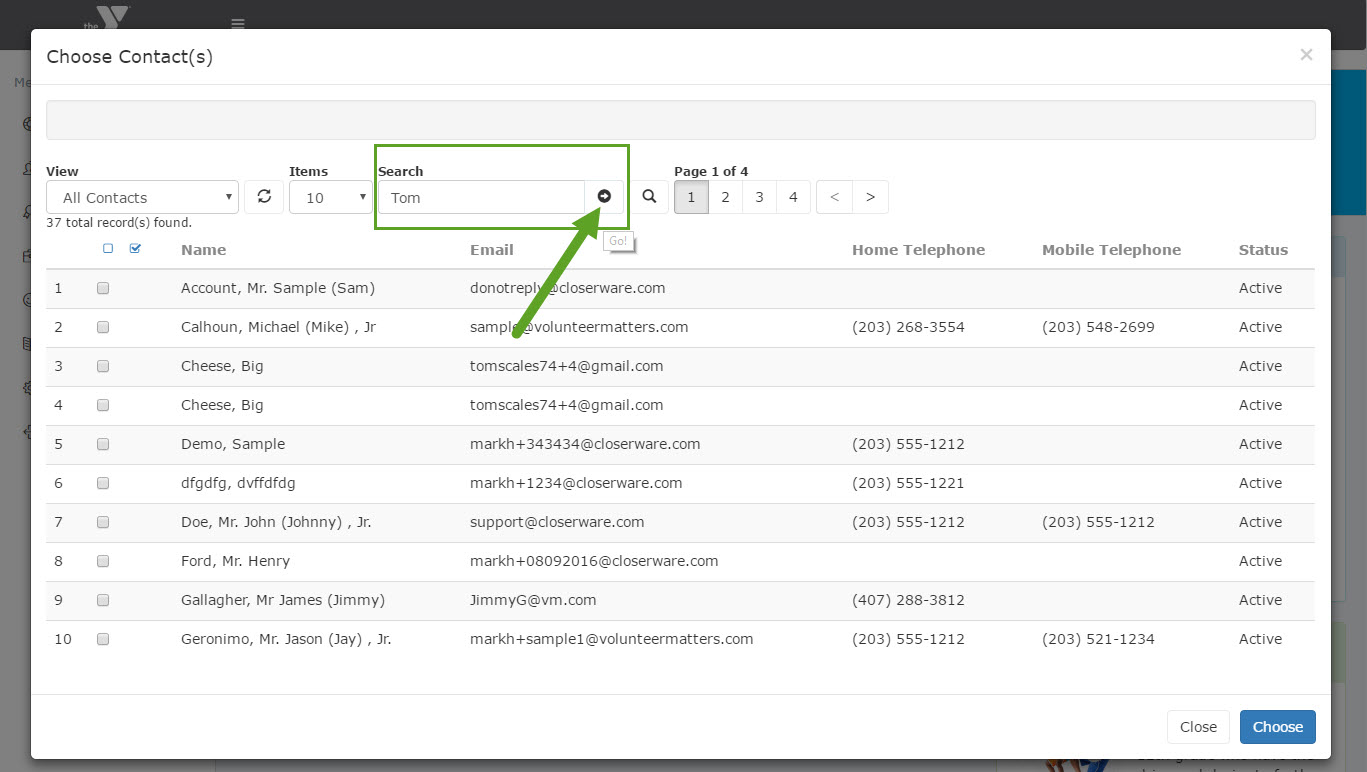
The "Search" field allows you "Quick Find" contacts by entering any text into the box to search the default quick find fields. Please see the image below for the Search button:
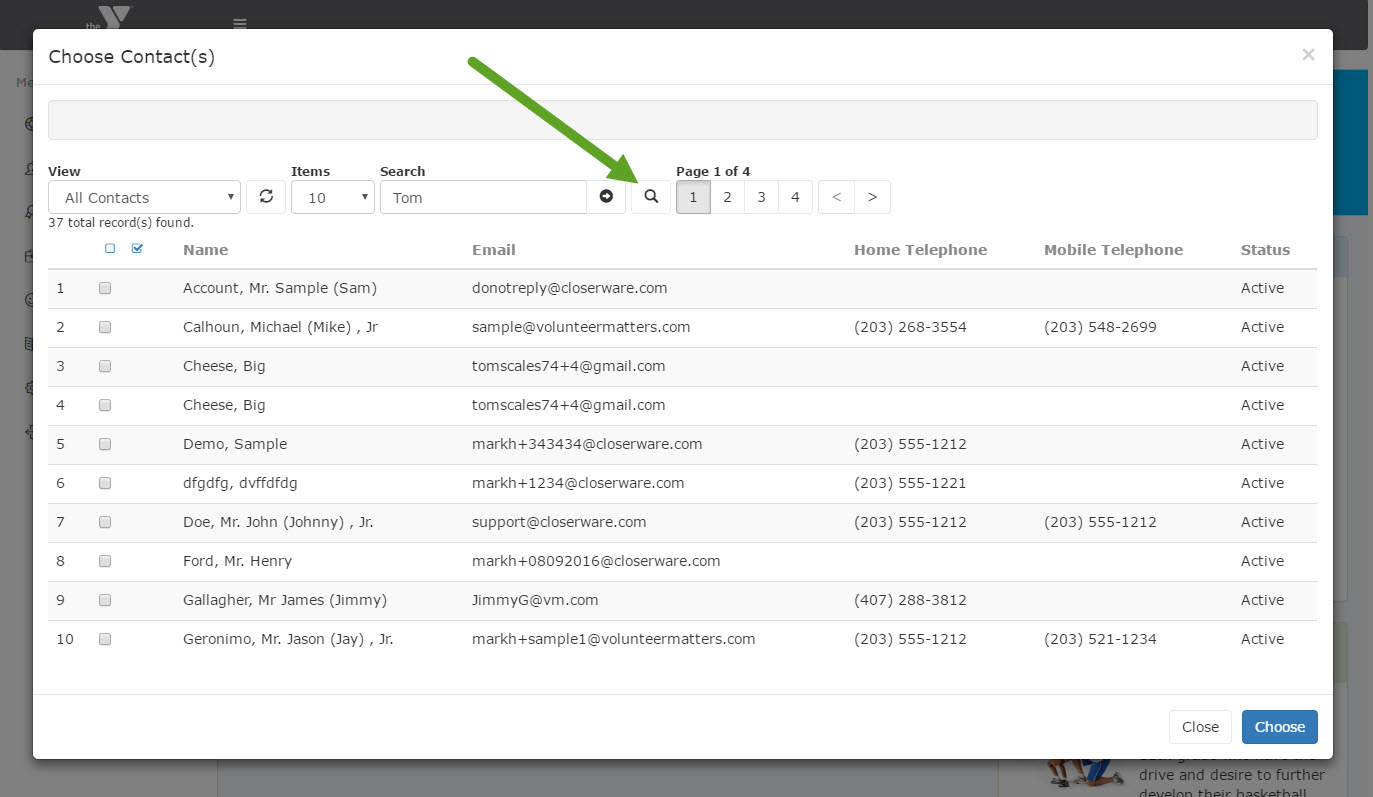
The "Advanced Search" allows you to filter records "on the fly", essentially creating a temporary list view. Please see the image below for the button location.
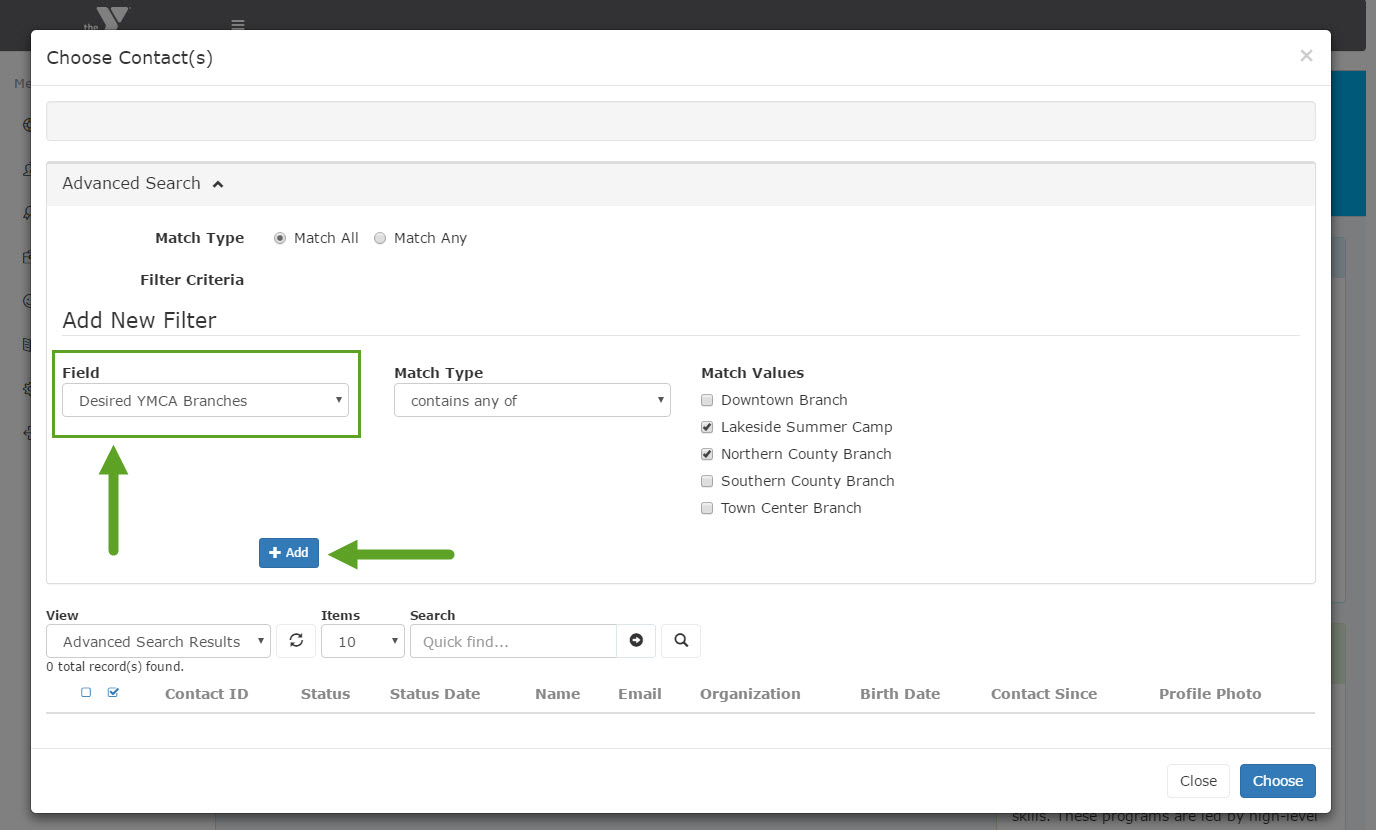
This button will open the 'Advanced Search' screen, where you will select the Filter Criteria from the "Field" drop-down list and then, depending on the field type, be presented the with selections, text fields, date selectors, etc to utilize that criteria. In this sample, it is a choose from a list field. Once you make your filter criteria you will click the "Add" button.
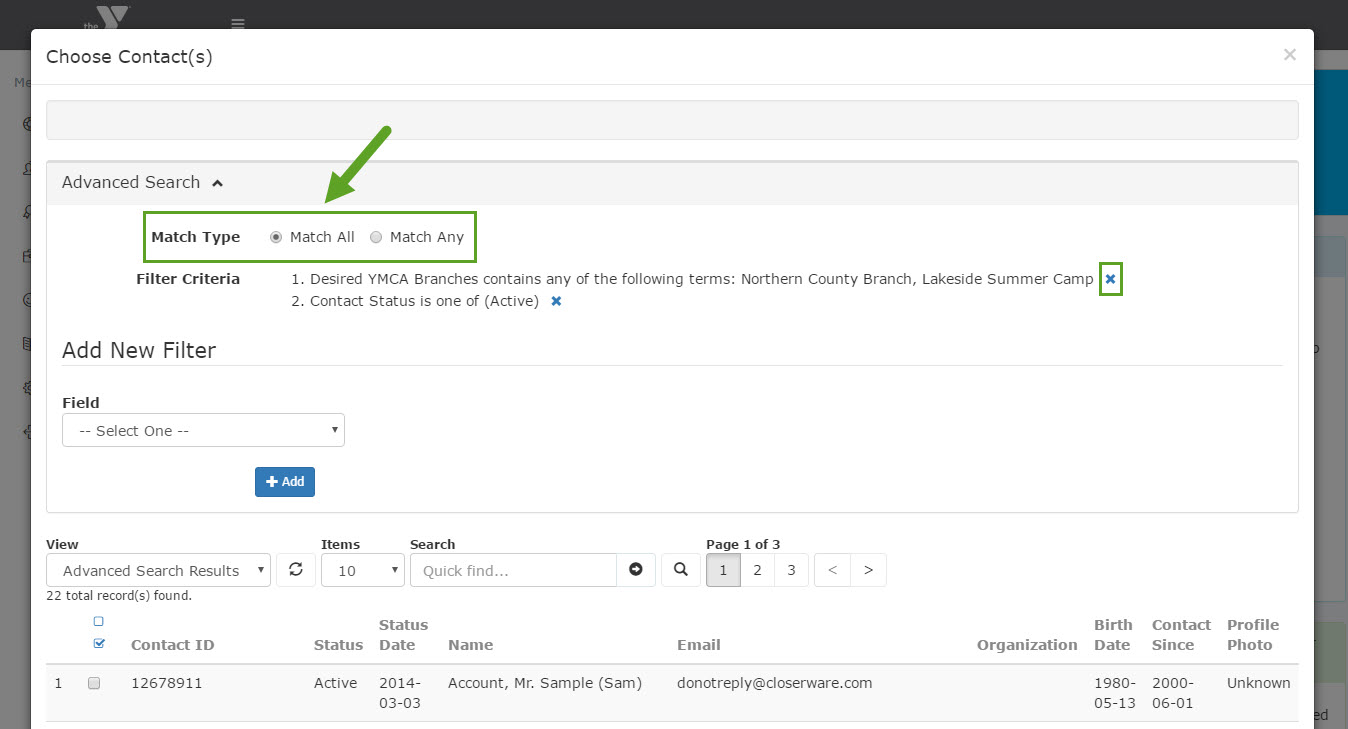
Once one filter criteria has been added, you can select a new criteria from the drop-down and repeat the process. If you wish to remove a criteria you can do so by clicking on the remove icon on the far right of each criteria ( ). The advanced search also features a "Match Type" with radio buttons for "Match All" and "Match Any". This means that if "Match All" is selecting the contacts must match all of the filter criteria created to be returned in the contact chooser list. If "Match Any" is selected, the contacts returned only have to match one of the existing filter criteria. They do not need to match all to be returned.
If you check a record from the list, it will populate the box at the top of the chooser. If you uncheck a contact from the list, they will be removed from the box. The 'check-all' and 'clear-all' buttons are in the image below right above the checkboxes for all contacts**. When you are happy with your selections you can click 'Chooser' to add those contacts to whatever functionality you launched the 'Chooser' from.
After clicking 'Choose', the dialog will close and the selections will populate the 'Choose Volunteers' box from where the 'Chooser' was launched.
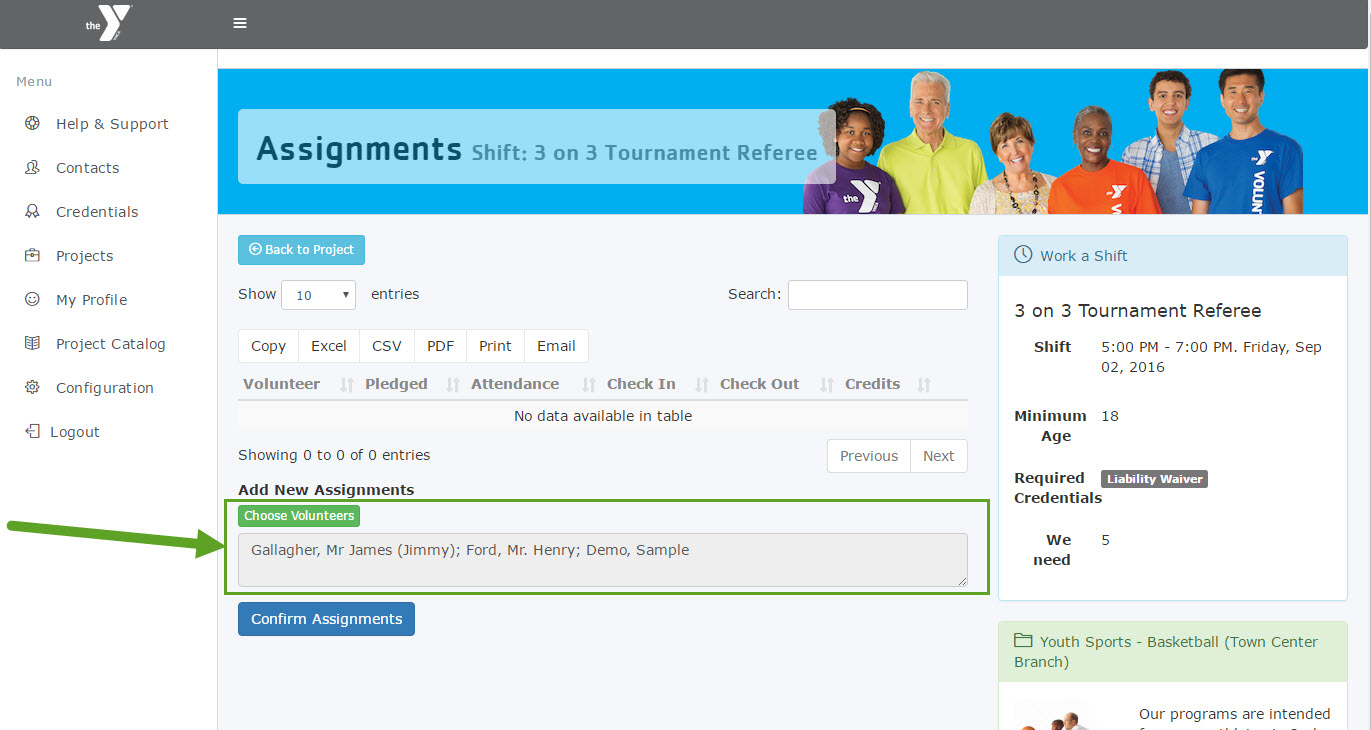
Note: When using the chooser for project needs you will still need to "Confirm Assignments" on the page from where the chooser is launched to add those volunteers to the need assignment.
**It’s important to note that if you “check all” or “clear all” it will only act on the records visible in the list, not on all of the records that may have resulted from a search. For example, if your “Items” were set to 25, it would act on the 25 records displayed. If “Items” were set to 500, it would act on the 500 records displayed. The “Items” setting is at the top-middle of the chooser.
Comments